Going Gluten-Free? Here’s How To Mill Your Own Flour
If you’re gluten-free for medical or dietary reasons, you have no choice but to buy flours made of wheat alternatives such as rice, teff, tapioca, sorghum, buckwheat, or garbanzo flour. Potato starch or finely ground nuts like almonds are also often used as a wheat substitute — even crickets (yes, crickets!), which is comprised mainly of protein rather than starches or fiber. Sounds daunting, right? It doesn’t have to be.
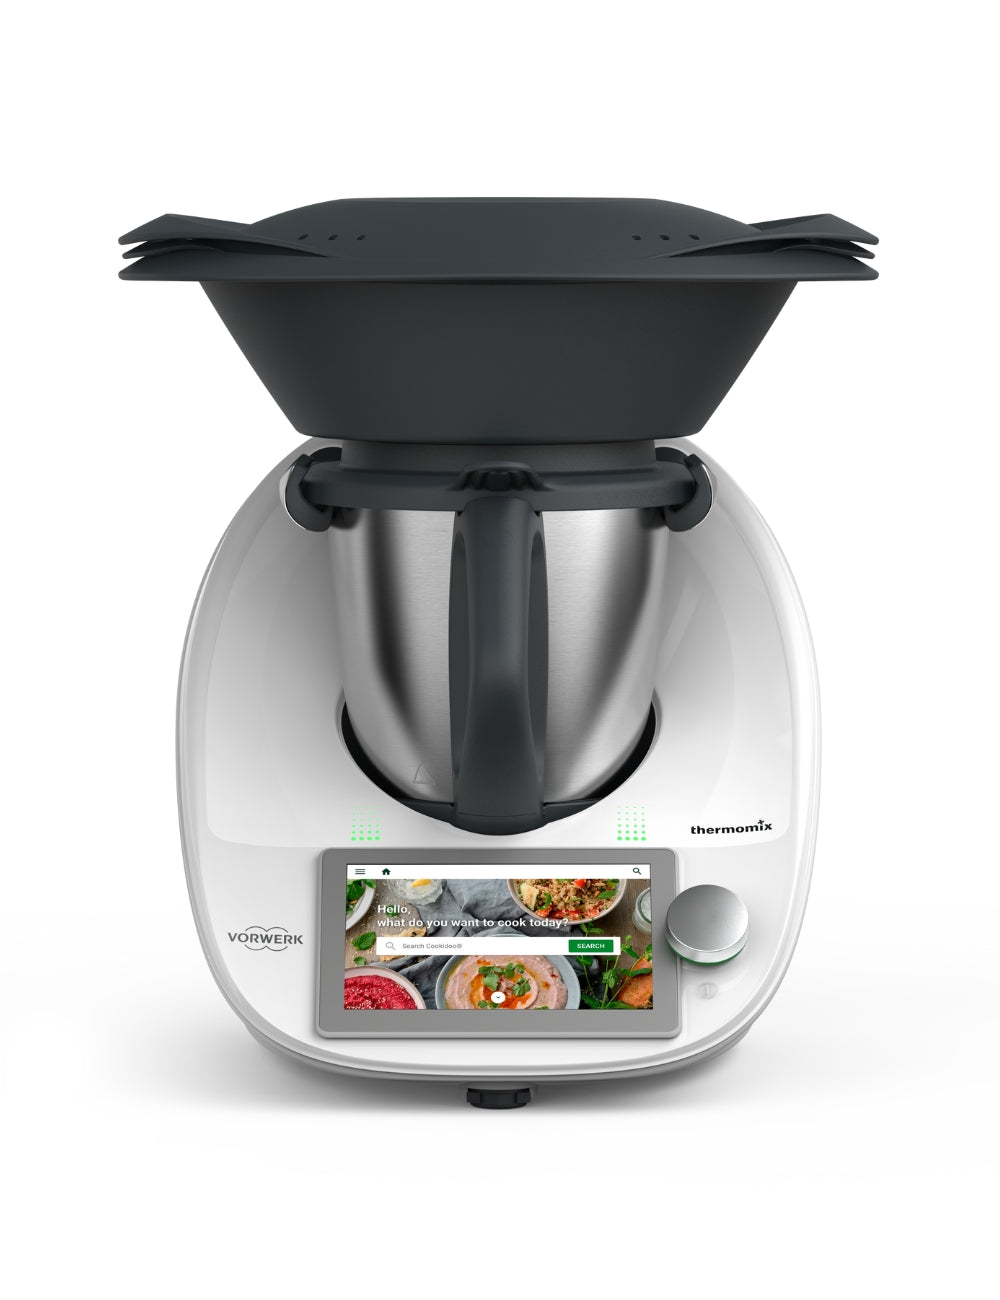
Thanks to your kitchen assistant, the Thermomix® TM6® ensures that your dishes turn out perfectly every time and it can surely transform into a master miller with the touch of a button. While you can purchase gluten-free flour options at your local grocery store, we're going to show you how easy grinding an even healthier version of this coveted cooking powder is on the Thermomix®!
Keep reading for a special gluten-free recipe guide that will help you put your milling powers to the test.
Down To Basics

When you mill flour at home, you leave in all the nutrition because you are grinding the bran and germ into it, rather than stripping it for commercial use and shelf life. Since the germ has oil in it, the flour can turn rancid, so it’s removed for mass distribution. But most of your fiber, vitamins, minerals, and antioxidants are in the bran and germ. So, keeping it in will boost a bevy of health benefits.
Home ground flour keeps for around three days at room temperature, seven days in the refrigerator, or you can store it for up to six months in the freezer.
In addition to robbing it of its nutritional value, store-bought flour is also much more dense and compact from sitting on a shelf for extended periods of time, while freshly milled flour is light and fluffy, which is better for your body. You know that heavy, often ‘too full’ feeling you get with flour-based dishes like pasta? You won’t experience that with home ground flour, and if you’ve ever had to pop open your top button after a big bowl of spaghetti, you’ll know that alone makes it worth it!
But, what’s even better is that it expands the possibilities by opening up a world of mill-able ingredients from both a taste and health perspective, so you can get creative as you hone your skills, which shouldn’t take long since Thermomix® does all the work. Just select your base grain, how fine you’d like your powder by adjusting speed and duration, and let Thermomix®’s powerful motor and high-quality knife do the rest. (Side note: You can also use this feature to grind the perfect coffee blend, finely grate Parmesan, and even grind your own herbs to extract the fullest flavors.)
Getting Started
To get you started, here’s a basic gluten-free flour recipe using white quinoa and chia seed. This will give you a sense of how each component works together, and what textures and flavors you want to bring out in your own home ground flour, depending on the recipe and desired taste.
Find Your Flour Power
Another way to decide which base ingredient to use is the health benefits. Below is a handy reference list of commonly used gluten-free flours:
– Almond Flour is loaded with magnesium, calcium, potassium, and copper, which helps the body form collagen and absorb iron, and aids in energy production.
– Amaranth Flour helps fight diabetes, aids bone health and contains high levels of naturally occurring folate, making it ideal for pregnant women in particular.
– Brown Rice Flour contains many more nutrients than traditional white rice flour, and is the perfect gluten-free option for pastas.
– Cassava Flour provides over 70 percent of your daily requirement of vitamin C.
– Chickpea Flour provides optimal levels of fiber, magnesium, calcium, B vitamins and large amounts of folate.
– Cricket Flour (if you can get past the whole cricket part) has more than three times the amount of protein of a sirloin steak and two times as much protein as chicken.
– Coconut Flour contains high levels of healthy saturated fats but a lower glycemic load, so it won’t spike your blood sugar levels.
– Oat Flour helps lower cholesterol, is high in fiber, and increases your immune system.
– Sorghum Flour is especially beneficial for losing weight as its tannins are believed to fight obesity.
– Sprouted Flour contains no phytic acid, making it easier to absorb and digest its vitamins and minerals.
– Tapioca Flour has almost no sugar or fat, so it’s ideal for low-calorie diets and weight loss.
– Teff Flour aids in circulation and helps prevent the symptoms of PMS. It also boosts the immune system and supports cardiovascular and bone health.
Making Your Mark
If you want to try out your homemade flour skills, here’s a quick and easy gluten-free recipe you can transform into a variety of pastas.

This simple pasta recipe will whip you into a prodigious Italian chef in minutes. Using cassava flour as a base, you can fashion this delicate dough into ravioli, tagliatelle, fettuccini, lasagna, or even bowties.
Here are the ingredients you need.
– 113 gr cassava flour
– 113 gr corn starch
– 56 gr brown rice flour
– 2 tsp guar gum
– 3 large eggs
– 2 1/2 oz water
– salt and water to boil pasta
Place the cassava flour, cornstarch, brown rice flour, guar gum, eggs, and water into mixing bowl and knead for 2 minutes. Transfer the dough to a work surface and press it into a ball. If the dough is too dry add a little water until you get a smooth and homogenous ball.
Next, divide the dough into eight parts. Roll each piece with a rolling pin into an elongated shape, and feed through the pasta machine, while guiding the dough. Run the dough through the pasta machine with rollers set on most open setting; fold dough into thirds and roll it back through the pasta maker. If the dough sticks, coat it with a little more flour. Fold and roll the dough three more times at this setting. Adjust rollers to the next level of thinness and guide dough back through the machine with the back of your hand, repeating the process until the dough is 1/16 inch thick. Be sure to keep the remaining dough covered to prevent it from drying out. Repeat this with the remaining dough. Now cut your pasta into desired shapes.
Cook the pasta on your stovetop in plenty of boiling and salted water (approximately 1 tbsp of salt per 16 cups of water) for 2-4 minutes, depending on the shape and thickness of the dough. Finally, drain the pasta and serve warm and seasoned with sauce to taste!
Want to see the Thermomix® in action? Book a Thermomix® Cooking Experience today and enjoy your virtual demo with one of our Thermomix® Independent Consultants!